Firstly, open your image in Photoshop.
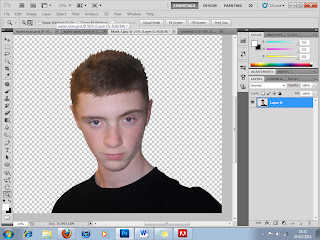
After unlocking the background layer, use the pen tool, or whatever method you prefer, to create a selection around your person.
Go to Select>Modify>Feather, and set the feather radius to 2. Click okay. Then press shift+ctrl+I to select inverse, and delete.

Now that you’ve extracted the person, make a new layer and place it underneath your person. On this layer, create a blue gradient.
While on your person layer, press ctrl+I to invert the layer.
Still on your person layer, switch to the channels palate. While holding down ctrl, click the top thumbnail. Then press ctrl+J.
Switch back to your layers palate and hide your original person layer. The new layer you have created is transparent, so you will be able to see your blue background behind it.
Next, while still on our person layer, to get more of a watery effect, go to Filter>Sketch>Chrome, and set detail to 0, and smoothness to 10. Click ok.
Now change the layer mode to Luminosity and duplicate the layer twice by pressing ctrl+J twice. This will give more of a glow to the image.
Now you can either leave your image how it is, which is a pretty good effect... Or you can continue the tutorial to advance the picture. However from here, it gets a lot more difficult and time consuming.
If you want to continue, delete the two duplicate layers you created to make the image bolder.
So next, you want to find a couple of images like the ones below, these are what I used. Copy and paste them into your Photoshop document.
You now need to repeat some of the previous steps for the water droplet images. Remove the black background with the magic want tool, and then again: ctrl+I to invert, then click on the top thumbnail on the channels palate while holding ctrl, and ctrl+J. Hide the original water droplet layer, and now you have a transparent blue water droplet image. Change the layer mode to Luminosity.
Now, the most time consuming part, is duplicating the transparent water image you have created several times, and then placing it over the face and body of your person. To bend the water droplet images to fit the face of your person, use the warp tool. To do this go to edit>transform>warp, and press enter once they are warped to the shape that you want.
Do this as many times as necessary using both of the water droplet images I mentioned. Lower the opacity of the water droplet images individually to suit your picture. Also, using the eraser tool on 0 opacity, erase parts of your person where you want the water to show better, I removed the hair and body of mine. I also removed parts of the cheeks, forehead and neck.
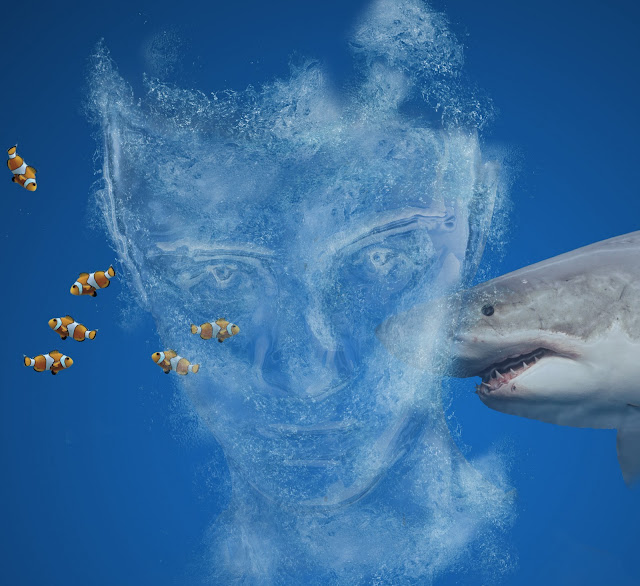
Once you’re happy with your final image, if you want you can add some fishes or sharks, to really set the scene.
Hope you have enjoyed the tutorial :]


